Radenso DS1
Configured in
Settings → Radar detector integration → DS1 connection manager. TheRadar detector modelpreference underSettings → Radar detector integrationshould be set toRadenso DS1for this preference to appear.
Connecting To DS1
Before you start: Please ensure that your detector has at least firmware version 1.07. This manual may not work on older firmware versions.
- To check your version, go to Settings → Unit → FW Ver on DS1.
- Please look for instructions and required files at the Radenso website to update your detector's firmware.
Pairing With DS1
Pairing is performed from the Android's system settings. You need to pair the detector only once, you won't need to do it again as long as the detector isn't "forgotten" in the Android preferences.
The following instructions are based on a vanilla Android 12. Some phone manufacturers may have their own settings menu (Samsung is well-known for this, for example); in this case, the steps may differ. Also, on older Android versions, the steps may differ as well. For these devices try the steps may slightly differ.
To pair your DS1 with your Android phone:
- On DS1, enable Bluetooth by going to Settings → User preference → BT → On.
- On Android, activate a search for nearby Bluetooth devices by going to System settings → Connected devices → Pair new device.
- On DS1, enter the pairing mode by going to Settings → User preference → BT pairing → Pairing set.
- On Android, look for your DS1 device; it should be named DS1@XX, where XX are two symbols.
- On Android, tap on your device once it shows up; after that, a "Pairing Succeeded" message should appear on DS1.
- Restart your DS1 – this is a crucial step as, occasionally, the Bluetooth connection goes to an invalid state right after pairing.
Once the detector is paired with the phone, you can pair it with the Highway Radar. To do this, in the Highway Radar application:
- Proceed to the DS1 connection manager in the preferences. You can also get there by pressing the "DS1 Bluetooth Connection" on the start screen in the "Configuration Status" section.
- From there, ensure that your detector is powered on and no other device is connected to it (there is no Bluetooth icon on the DS1 display).
- Press the "Scan" button in the connection manager on your phone, and select your detector.
- After selecting your detector, wait for 5-10 seconds for the application to connect.
Highway Radar remembers the detector and automatically reconnects whenever it is in range. Press the "Forget" button in the connection manager to forget the detector. Note that "forgetting" the detector in Highway Radar doesn't "forget" the detector in the system settings – this means that you shouldn't perform the pairing again to reconnect your DS1 to Highway Radar.
Connection Manager
DS1 connection manager consists of three sections: Connection, device settings, and alerts table.
Connection
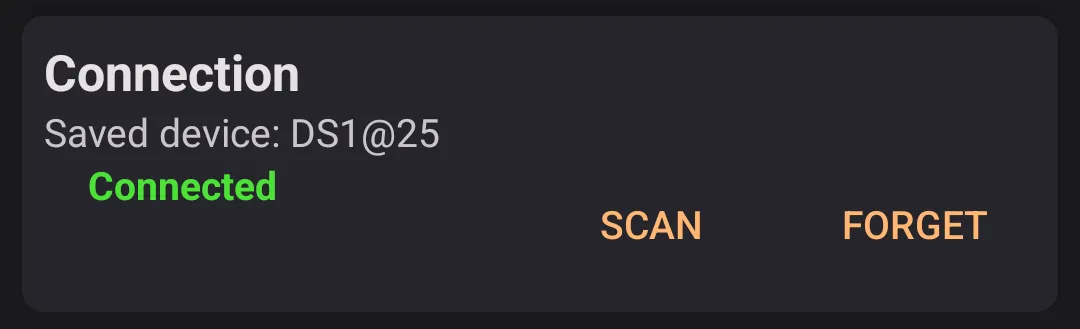
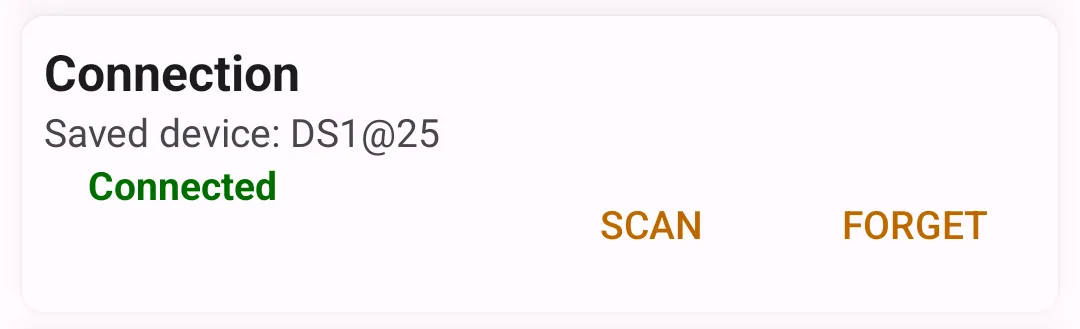
Connection displays connection status and the remembered detector name. The scan button is used to pair a new detector, and the forget button clears the currently paired one.
Device Settings
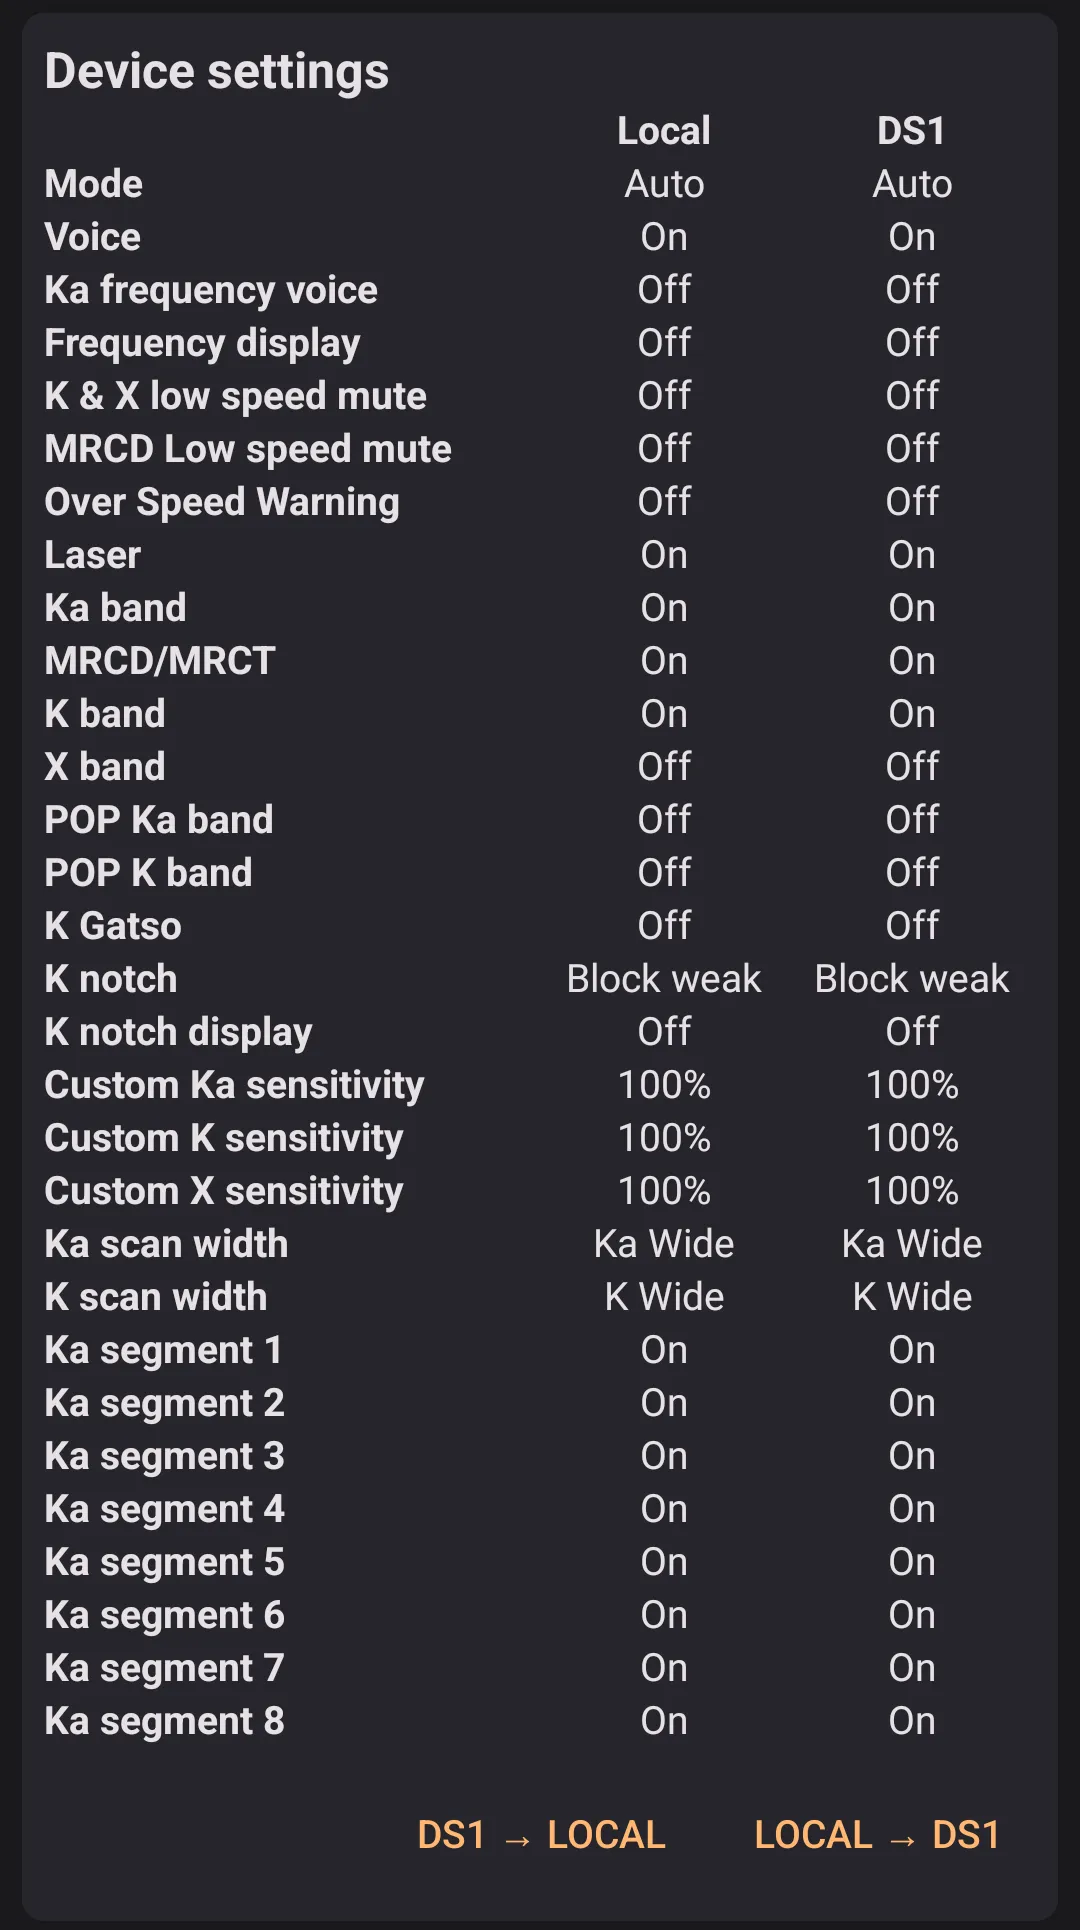
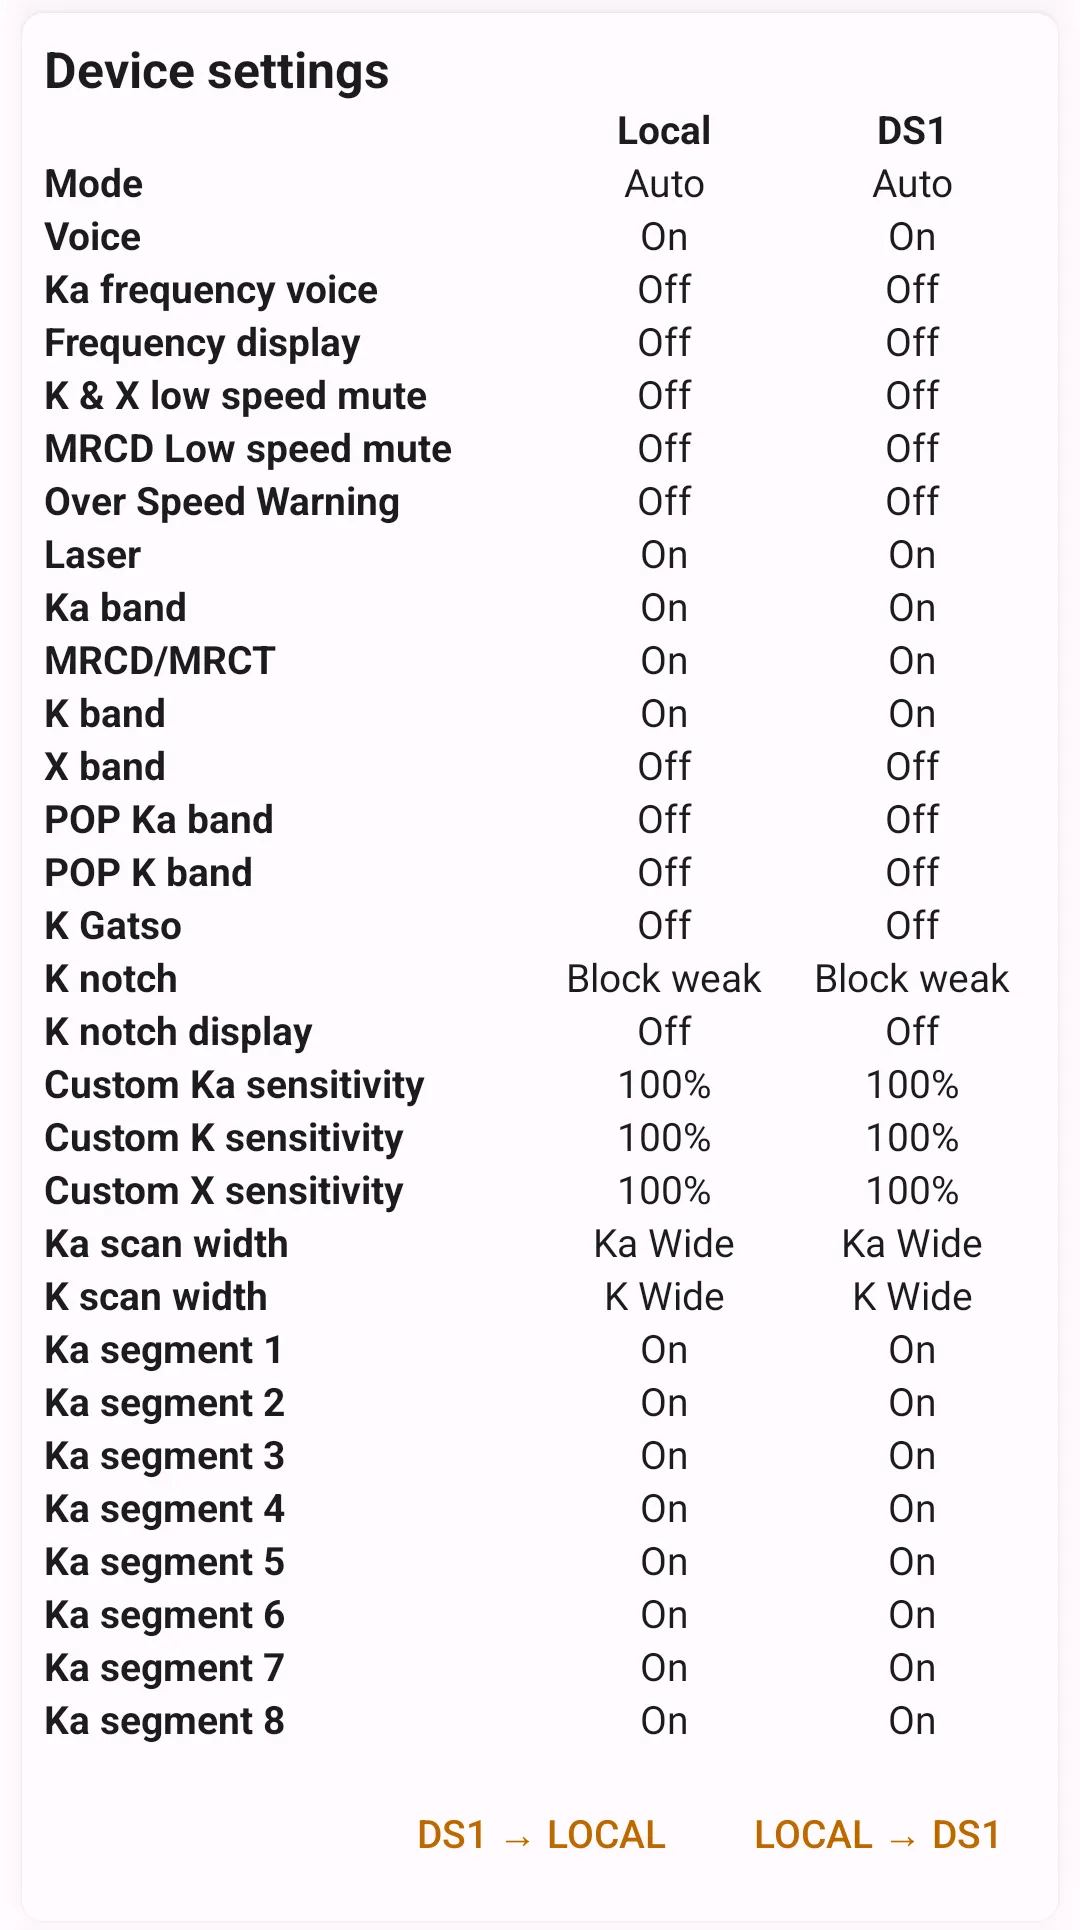
This section is only displayed when a DS1 is connected.
Highway Radar stores a copy of DS1 settings internally and supports two-way synchronization. In this section, both settings are displayed. You can change local values from the application in **`Settings → Radar detector integration → DS1 internal Settings``*; however, local values don't affect how the detector operates. DS1 values are stored and set on the detector itself, and the detector uses them for operation.
You can copy settings both ways. Pressing the DS1 → Local button copies settings from the device to the application storage. Pressing the Local → DS1 button writes settings from the application storage to the detector. You can also push settings to the detector from the internal settings menu (equivalent to pressing Local → DS1).
Alerts Table
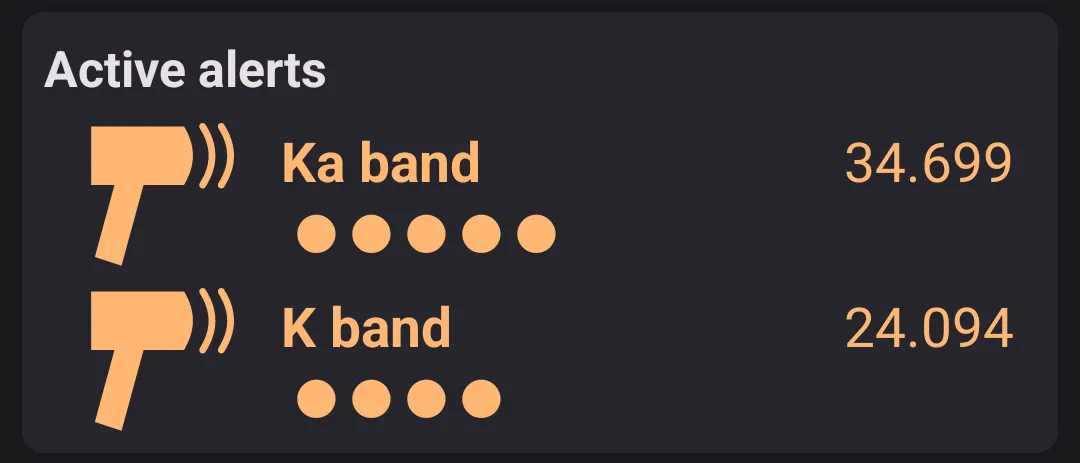
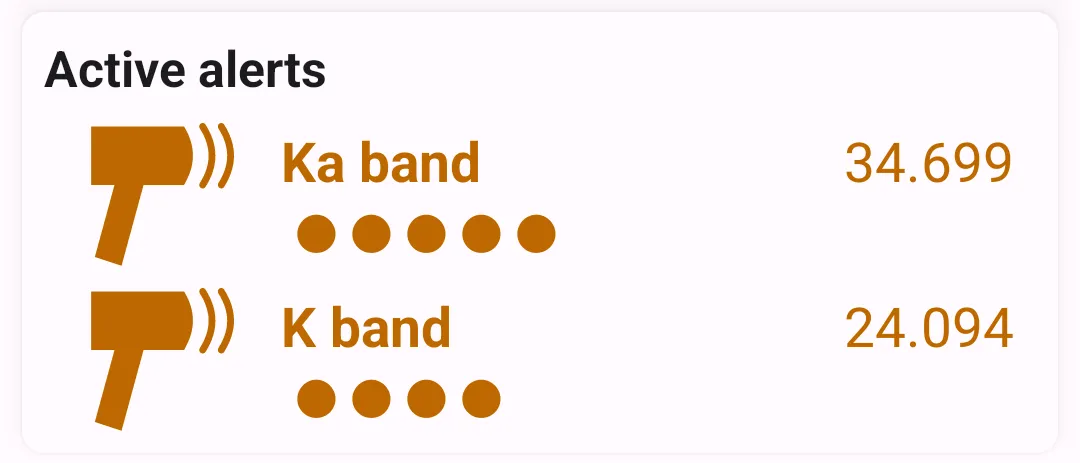
This section is only displayed when a DS1 is connected.
It displays a list of signals currently detected by DS1 with bands, frequencies, and strengths. You can use that list for verification of DS1 connection health.
Changing Internal Settings
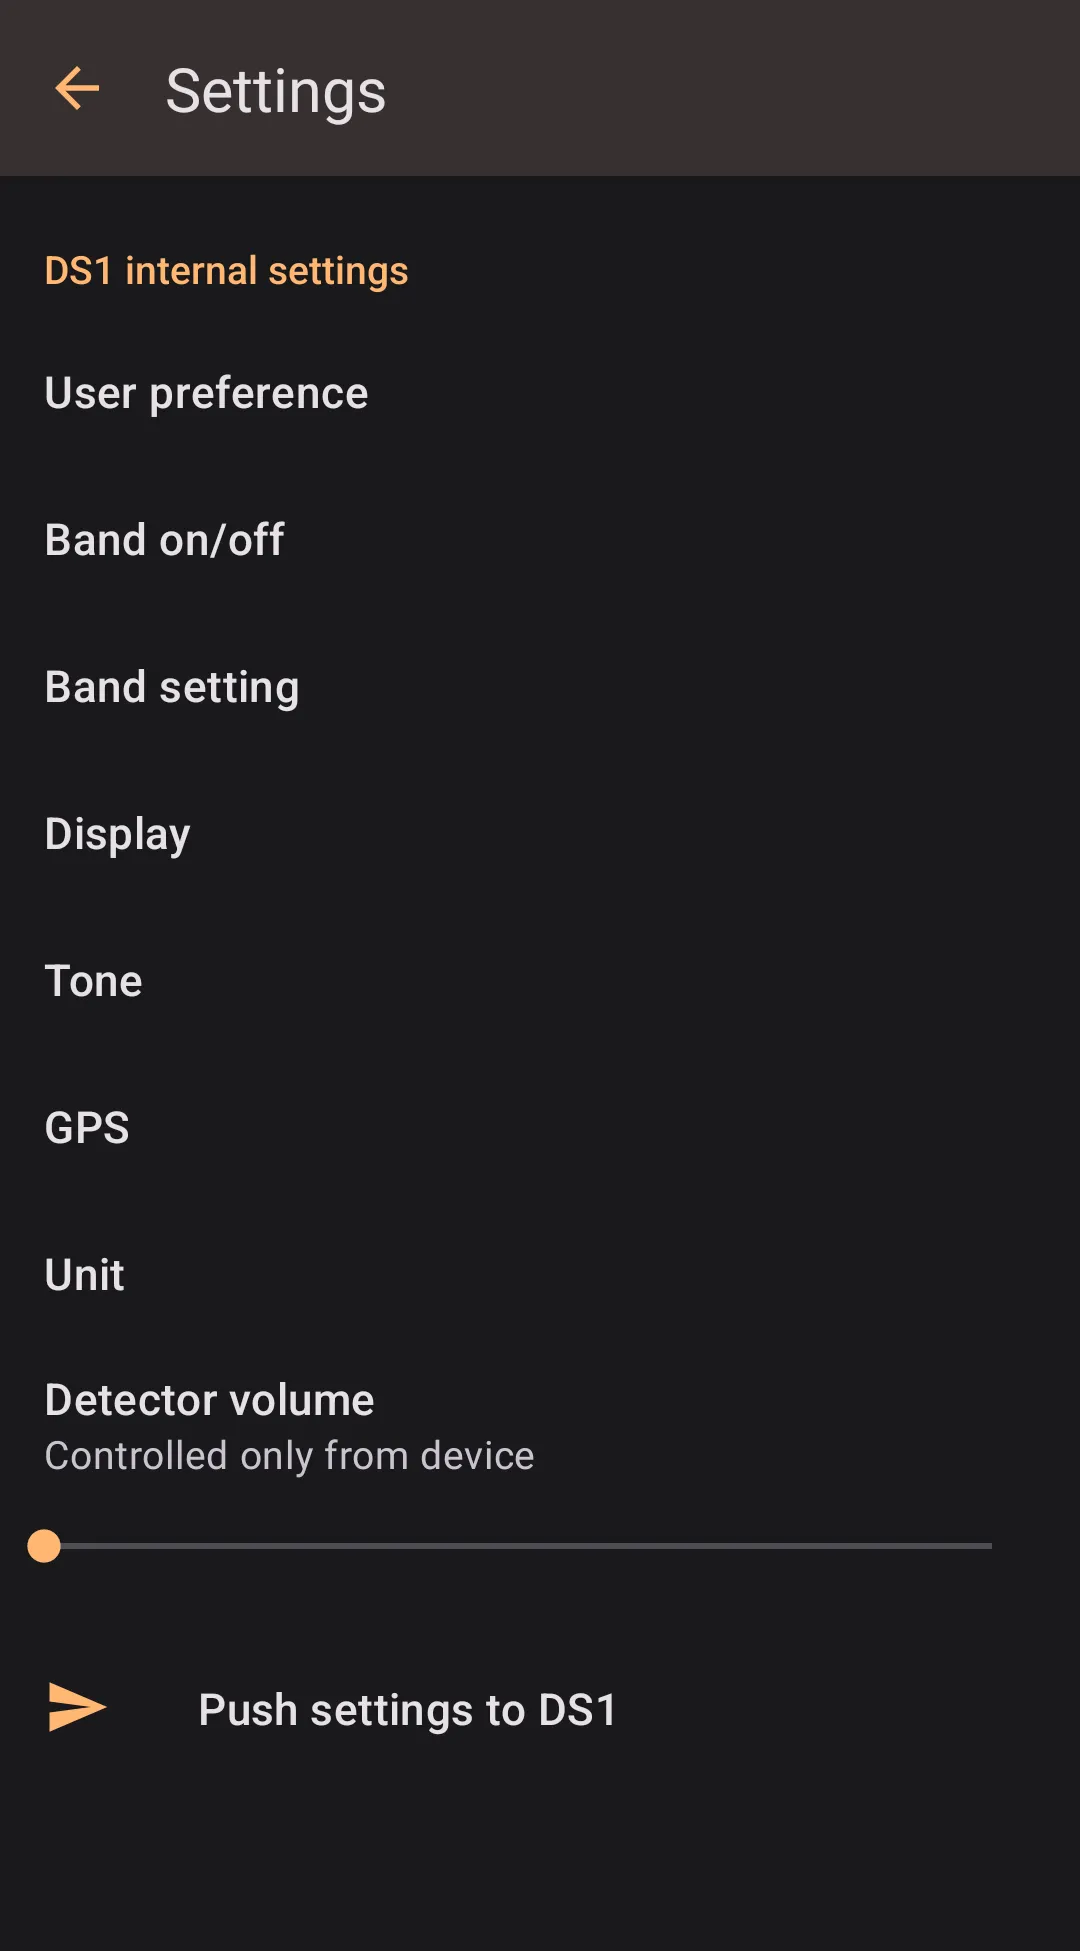
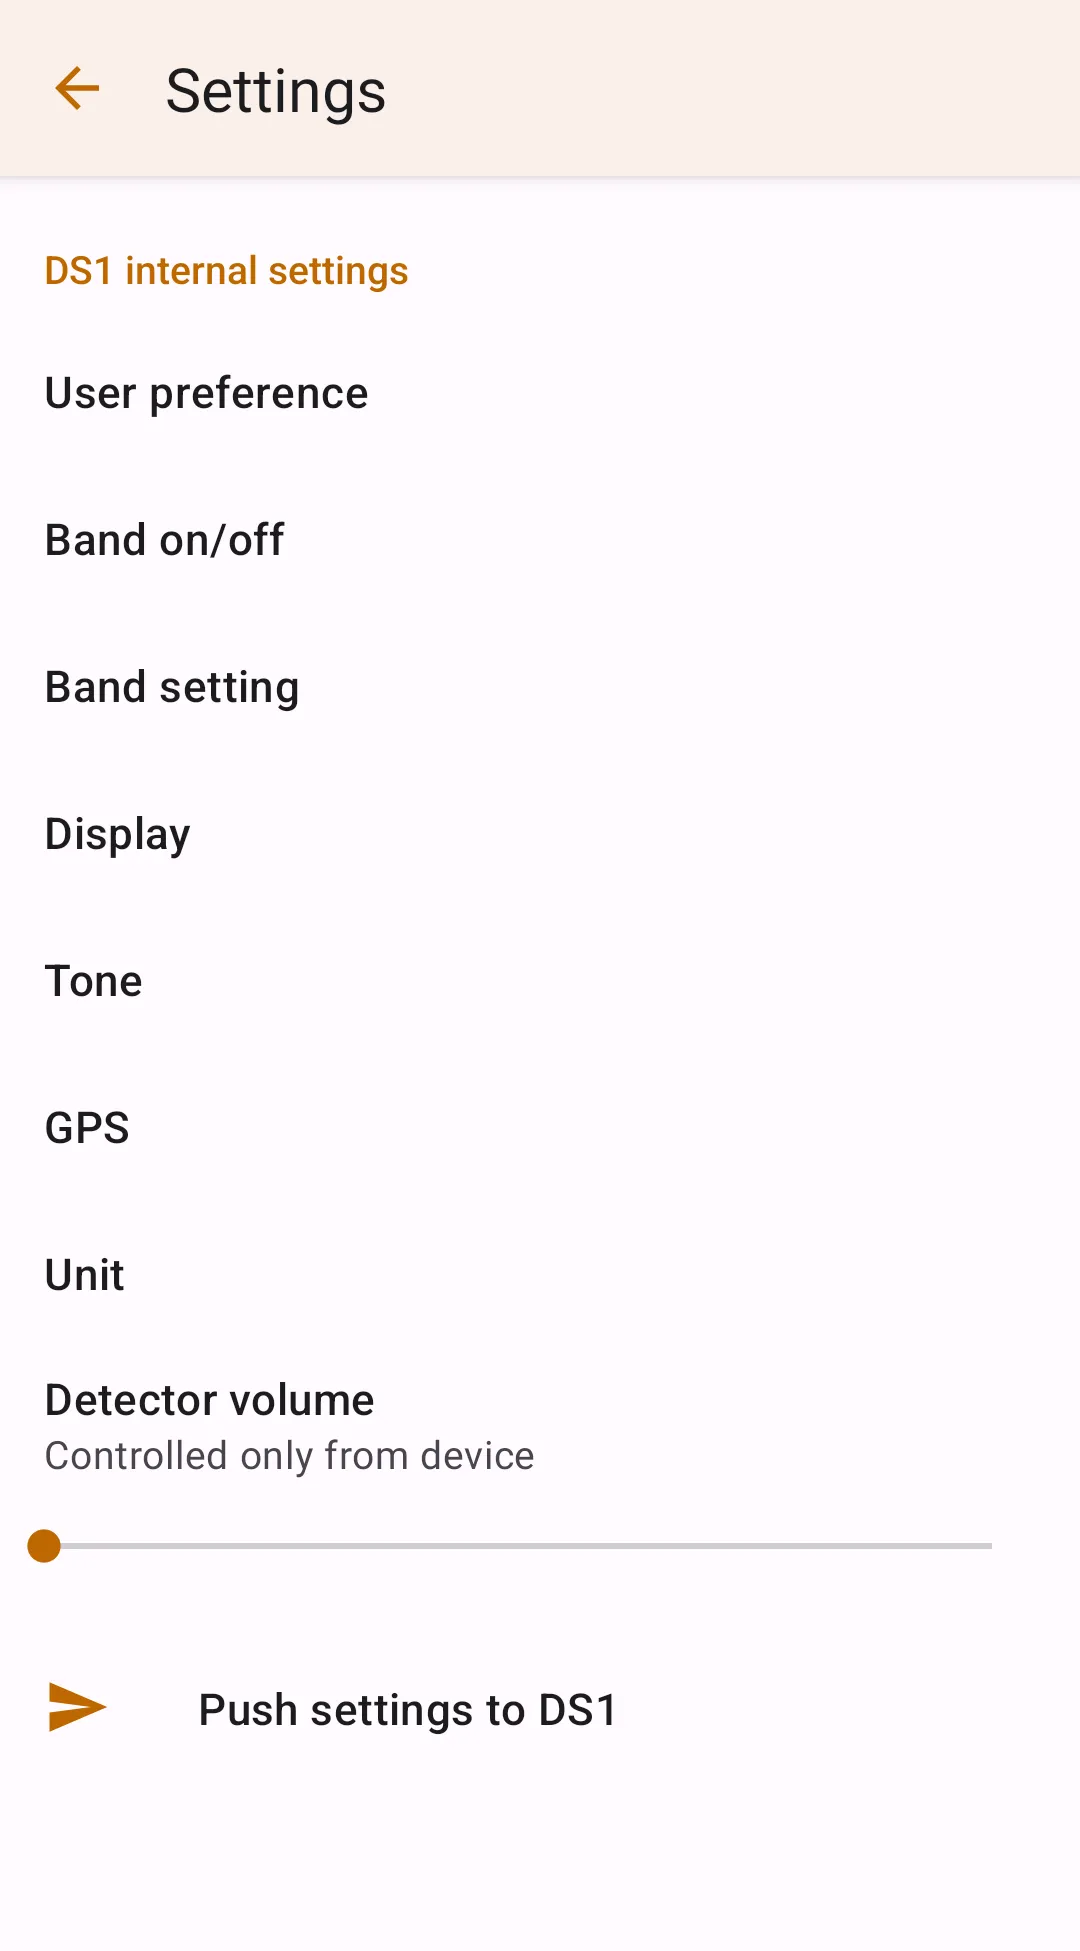
One of the good benefits of DS1 integration is managing the detector settings from a user-friendly interface on a big phone screen. To update internal detector settings, proceed to Settings → Radar detector integration → DS1 internal Settings and set up your desired configuration. Then to push the settings to the detector, tap the "Push settings to DS1" button in the internal settings menu. Another way to push settings is proceeding to the DS1 connection manager and pressing the Local → DS1 button in the Device Settings section.
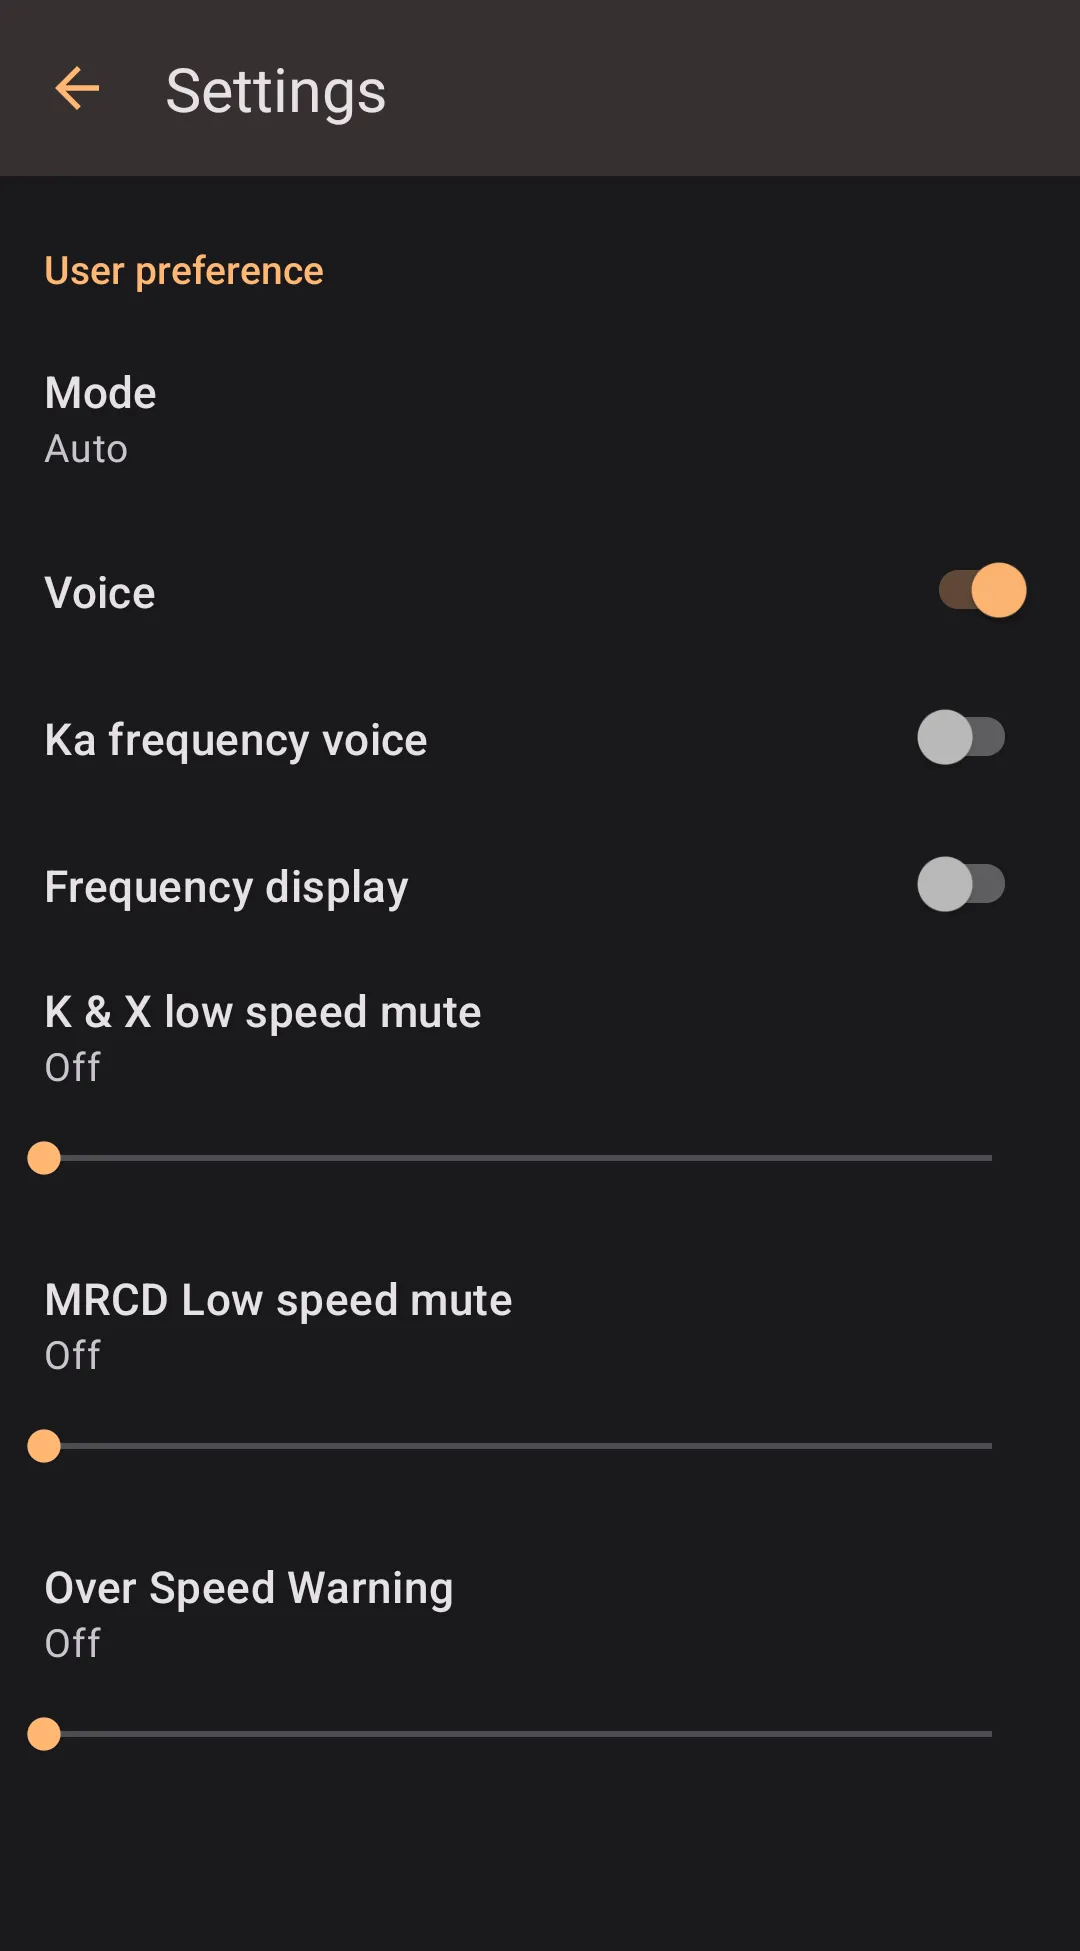
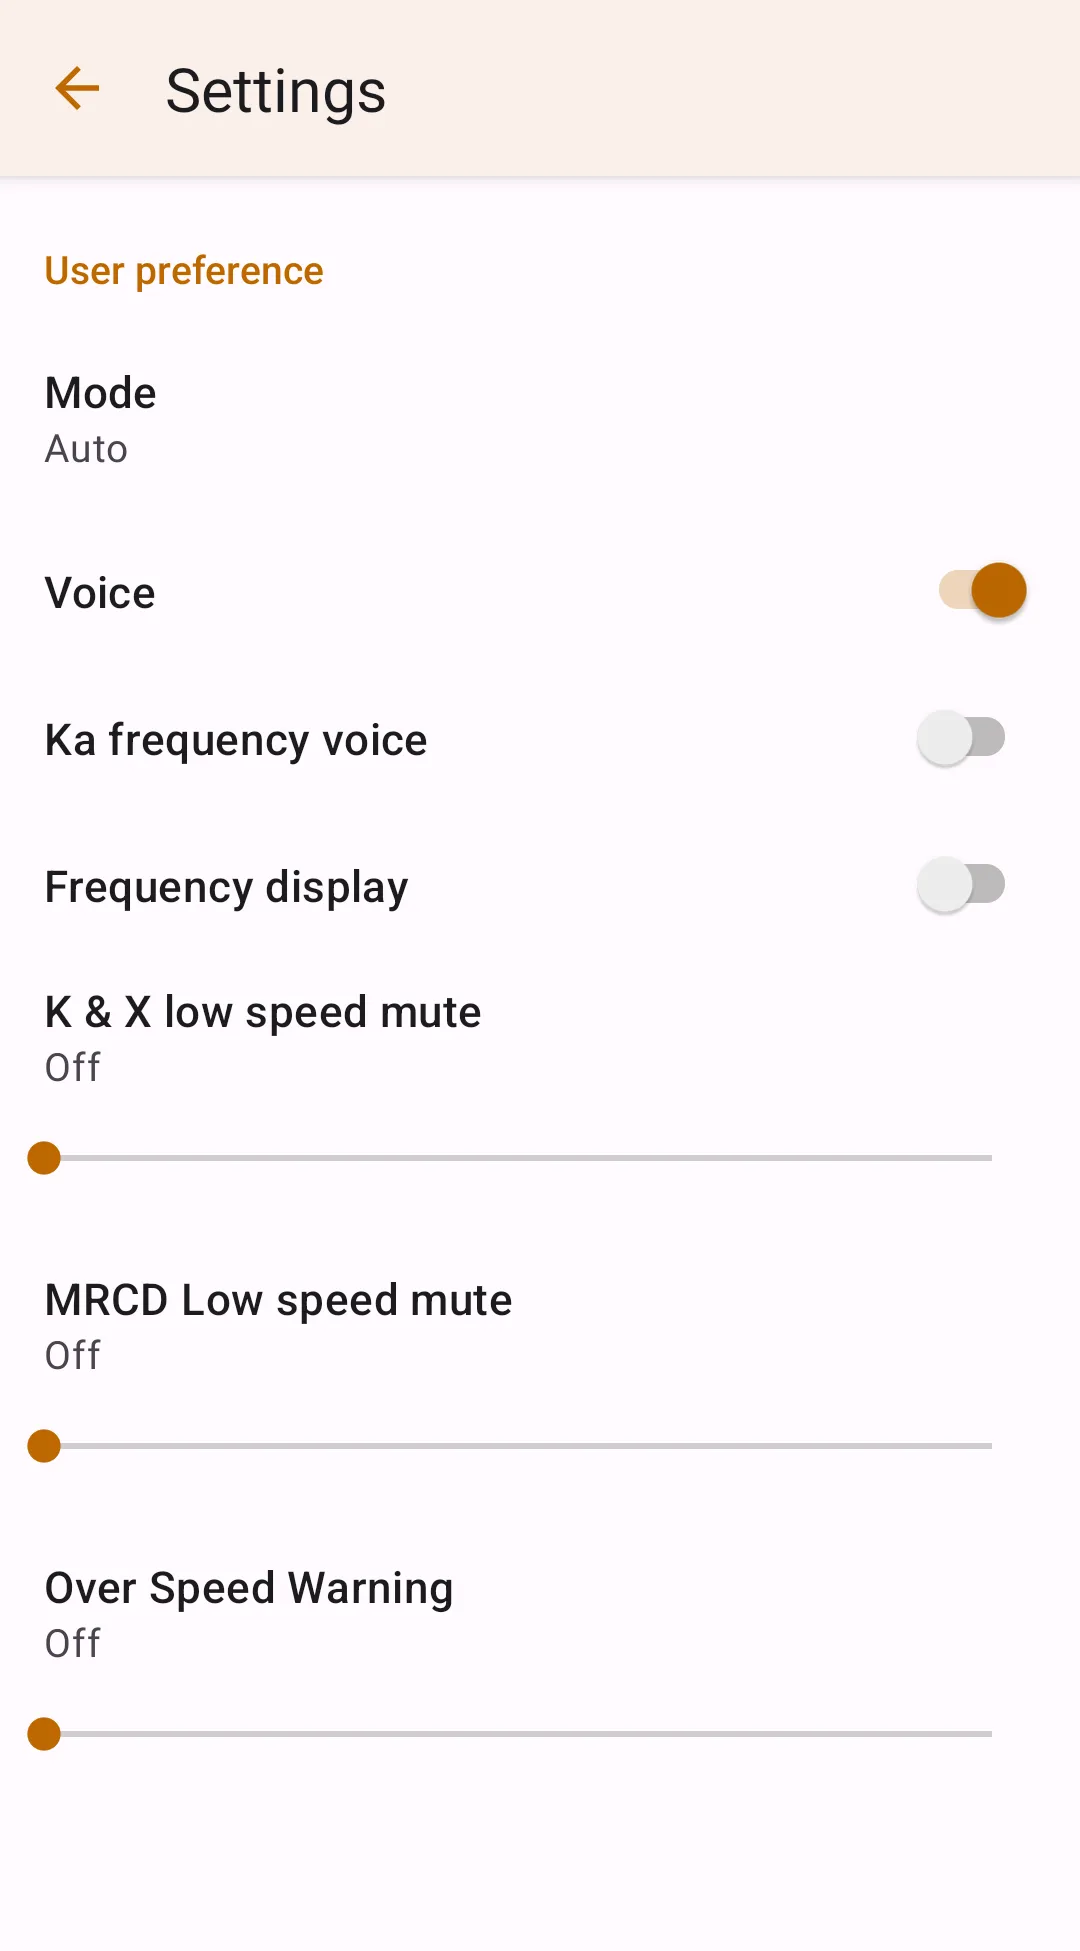
Setting Detector Volume
In the internal settings you may also set detector volume. Please note that detector will return to that volume after every alert, even if you change the volume using the detector buttons. To prevent this behavior, you may set the detector volume to the "Controled only from device", which is at the leftmost value of the slider.